Quality and Certifications of Welded Tubes
in Stainless Steel, Duplex, Nickel Alloys and Titanium
A.D. Tubi Inossidabili is a leader in the production of high-quality welded stainless steel tubes for the most demanding industrial markets. Our Italian company ensures strict quality control through two fully equipped in-house laboratories for both destructive and non-destructive testing.
A.D. Tubi Inossidabili can grant complete suitability of the products to customers’ needs. All manufactured tubes are technologically tested according to a QCP linked to every production. A full array of destructive + non-destructive tests guarantees the quality of the tubes, and the two in-house fully equipped laboratories allow to have immediate results assessing production quality from start to end.
ISO Quality Certifications and International Standards
Our Italian production site is certified according to the most stringent international standards:
Main Certifications:
- ISO 9001:2015 – Quality Management System
- ISO 14001:2015 – Environmental Management System
- ISO 45001:2018 – Occupational Health & Safety Management System
- AD2000 Merkblatt W0 – German standards for pressure equipment
- PED 2014/68/EU Directive – European Pressure Equipment Directive
International Approvals
- Bureau Veritas
- Lloyd’s Register
- RINA
- DNV GL
- KR Register
- Norsok M-650
- Nuclear Certifications
CERTIFICATES
DESTRUCTIVE TESTS
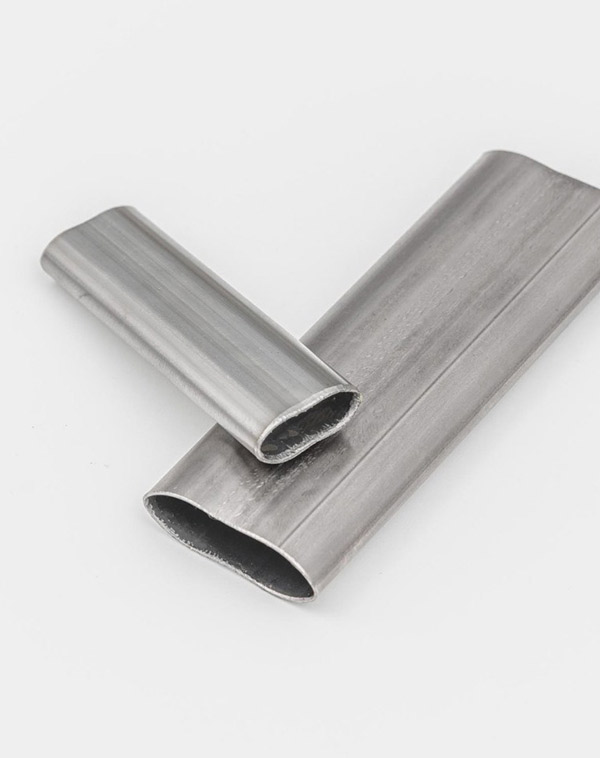
EN ISO 8492 / ASTM A370
Used to test the transverse weld ductility on the outside surface. A specimen is flattened in a press with the weld positioned at 90°. The severity of the flattening test is measured by the distance between the parallel plates and is varied according to the dimensions of the tube. Cracked samples are rejected. Testing frequency is according to production standard; however, one test is performed at least every hour.
EN ISO 8493
This test is used to determine the ability of metallic tubes of circular cross-section to undergo plastic deformation in drift expansion. We expand the end of the specimen with a conical mandrel until the maximum outside diameter of the expanded tube reaches the value specified in the relevant product standard. A.D. Tubi standard expansion is always greater than 20% for duplex steels and nickel alloys, and greater than 25% for austenitic steels. Upon customer request, for special alloys, expansion can be greater than even 40-50%. Cracked samples are rejected. Testing frequency is according to production standard; however one test is performed at least every hour.
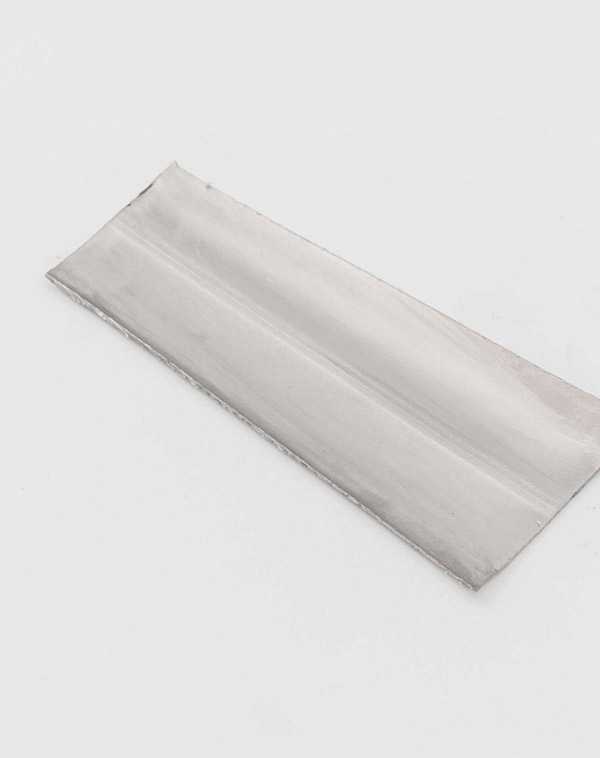
ASTM A370
Used to test the transverse weld ductility on the ID surface. The specimen consists of a length of tubing approximately 100mm long which is slit longitudinally 90° on each side of the weld. The sample is then opened and flattened with the weld at the point of maximum bend. Cracked samples are rejected. Testing frequency is according to production standard; however one test is performed at least every hour.
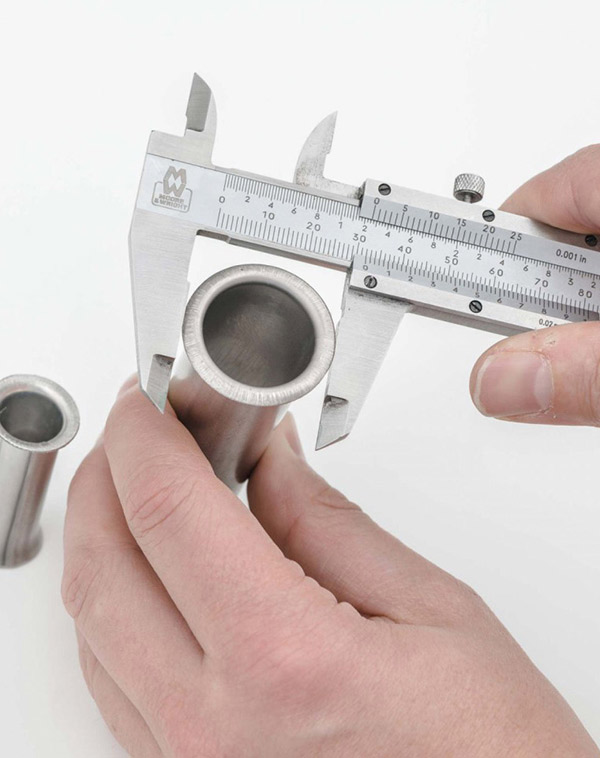
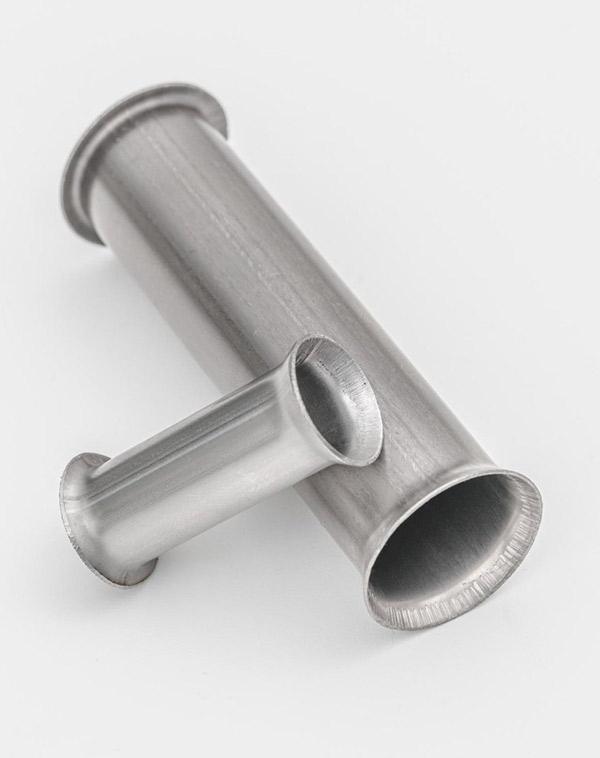
ASTM A370
Used to test longitudinal weld ductility of the tubes and their ability to withstand the operation of bending into a tube sheet. A section of tube shall be capable of having a flange turned over at a right angle to the body of the tube to the width required by the applicable material specification without cracking or showing imperfections. Testing frequency is according to production standard; however, one test is performed at least every hour.
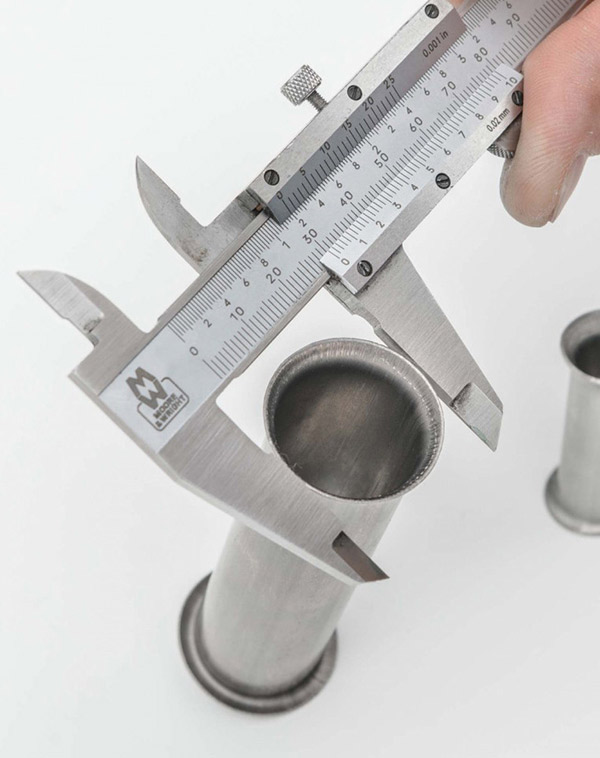
ASTM A370
This test consists of driving a tapered mandrel having a slope of 60° into a section cut from the tube and thus expanding the specimen until the inside diameter has been increased to the extent required by the applicable material specifications. As per drift expanding test the A.D. Tubi standard ratio of deformation is greater than ASTM standard. Cracked samples are rejected. Testing frequency is according to production standard; however, one test is performed at least every hour.
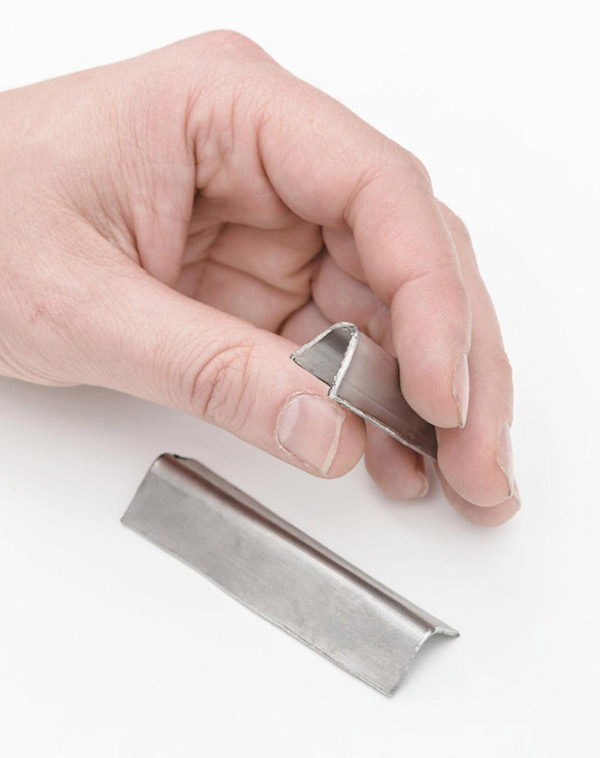
EN ISO 5173 / ASTM A370
Test is done to assess the welding strength of the tubes. The specimen consists of a length of tubing approximately 100mm long which is slit longitudinally 90° on each side of the weld. The sample is then opened and bent 180° along the inside weld seam being at the point of maximum bending. Cracked samples are rejected. Testing frequency is according to production standard; however, one test is performed at least every hour.
MECHANICAL TESTING
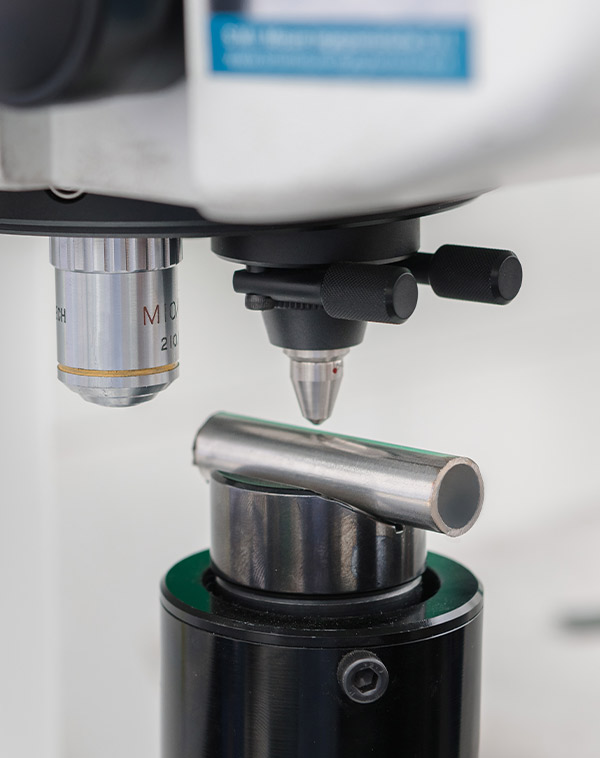
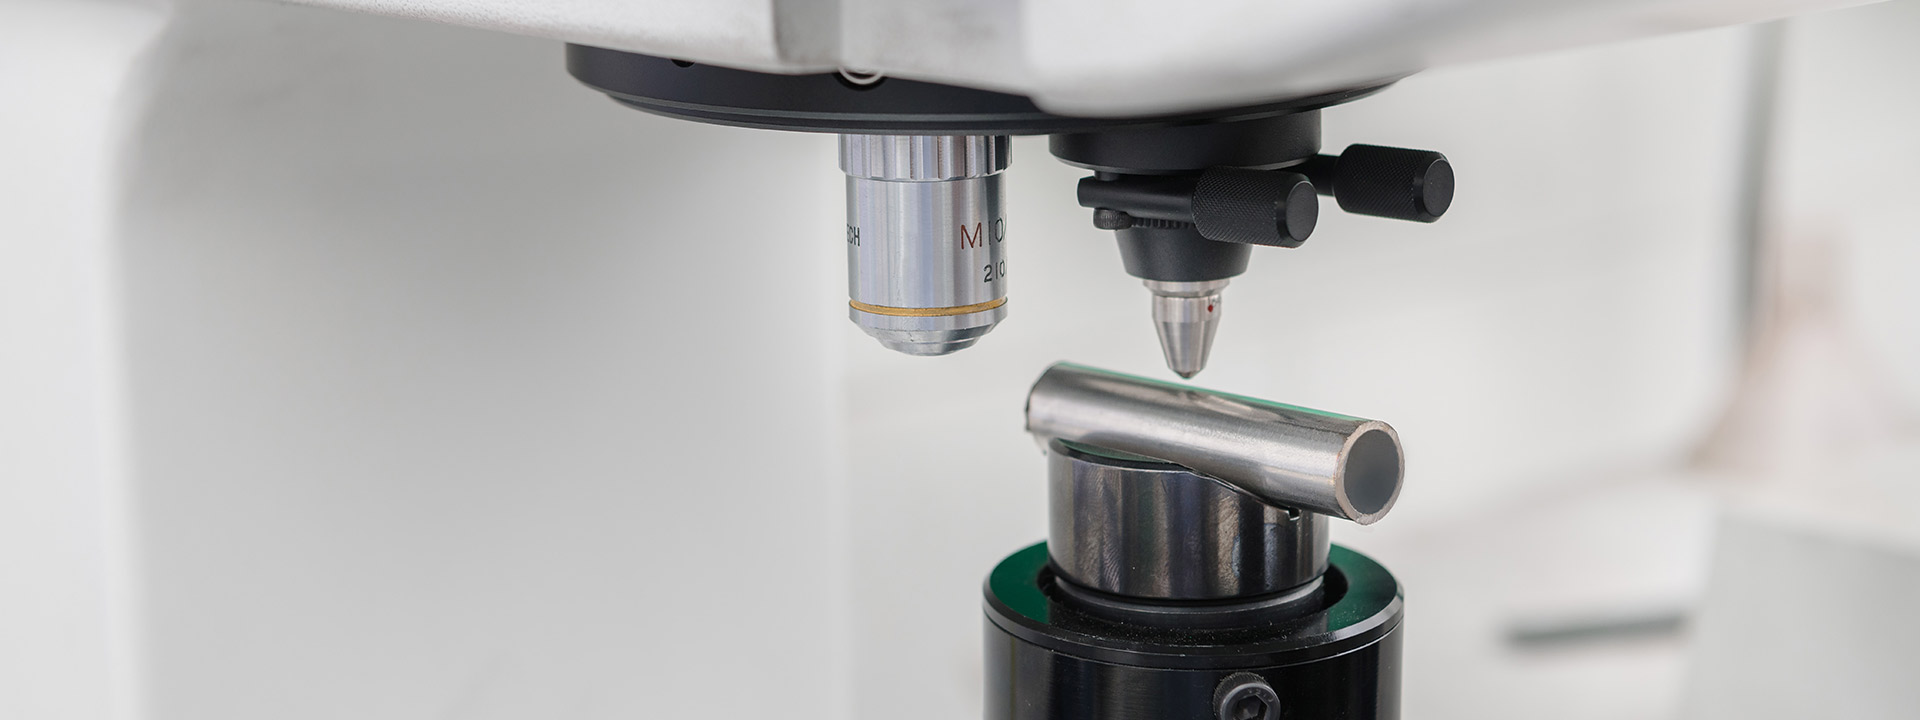
ASTM E18 / ASTM E92 / EN ISO 6507-1 / EN ISO 6508-1
Hardness test is performed on each heat of tubes produced.
HRC (Rockwell C), HRB (Rockwell B) and HV (Vickers) can be performed.
One test is performed at each production start. Frequency of test and acceptance values are defined by related production standard.
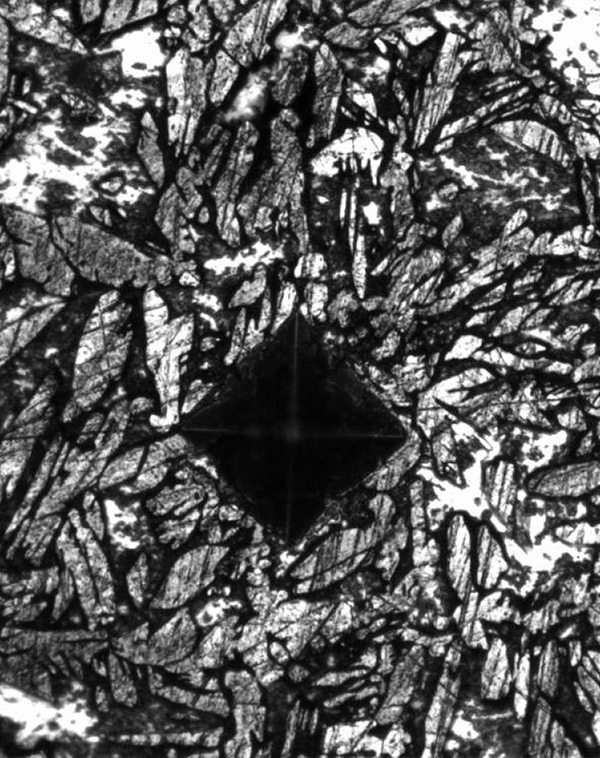
EN ISO 6507 / ASTM E384
Microhardness test is performed upon customer request. A.D. Tubi can perform microhardness test from 0,1HV to 10HV on the base metal (BM), heat affected zone (HAZ) and welded zone (WZ). To see typical micro-hardness test values, see material technical sheet for further information.
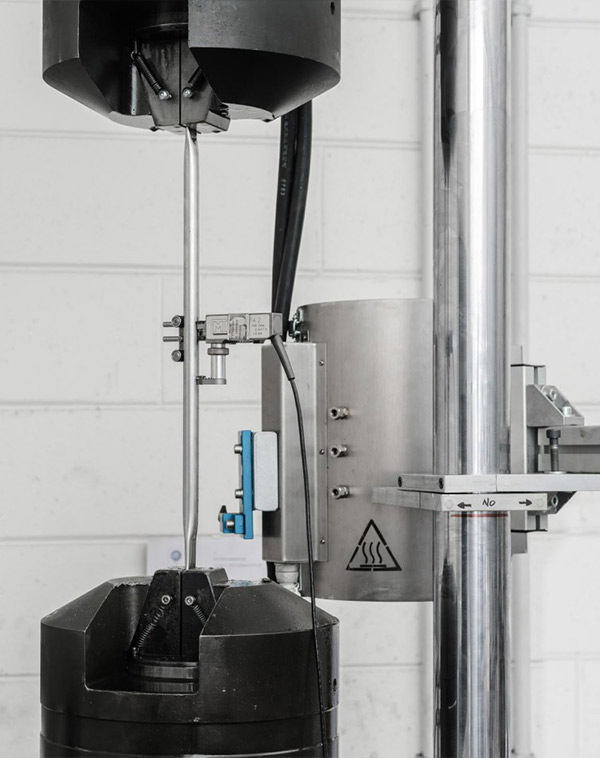
ASTM E8 / EN ISO 6892-1
A sample of tube is subjected to a controlled longitudinal tension force until it breaks, allowing us to measure ultimate tensile strength, yield point and elongation. A tensile test is performed on each heat produced. Frequency of test is defined by related production standard. A.D. Tubi records values of Rp0,2, Rp1, Rm and elongation% for each test carried out.
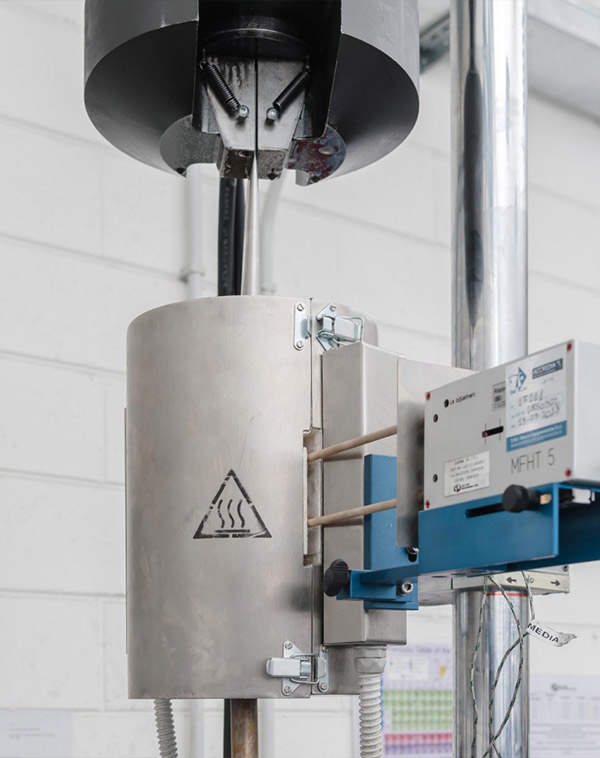
EN ISO 6892-2 / ASTM E21
Using this method we test the material properties at an elevated temperature (tensile strength, yield strength, elongation).
MECHANICAL TESTING - Other tests
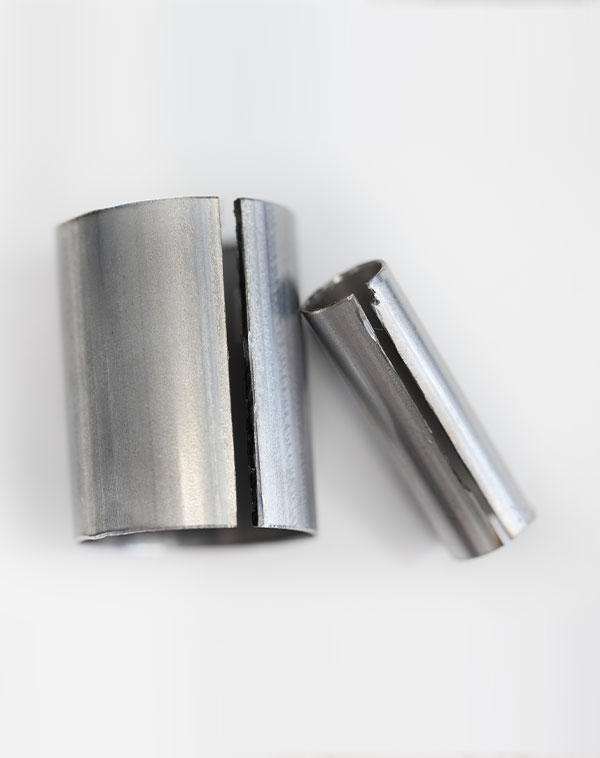
ASTM E1928 Thirkell test
This test estimates the approximate residual circumferential stress in our tubes from the change in outside diameter that occurs upon splitting a length of the tube. A specimen with a length of approximately 100mm is longitudinally split, then the diameter is measured at 90° from the split. A.D. Tubi tubes have a very low residual stress.
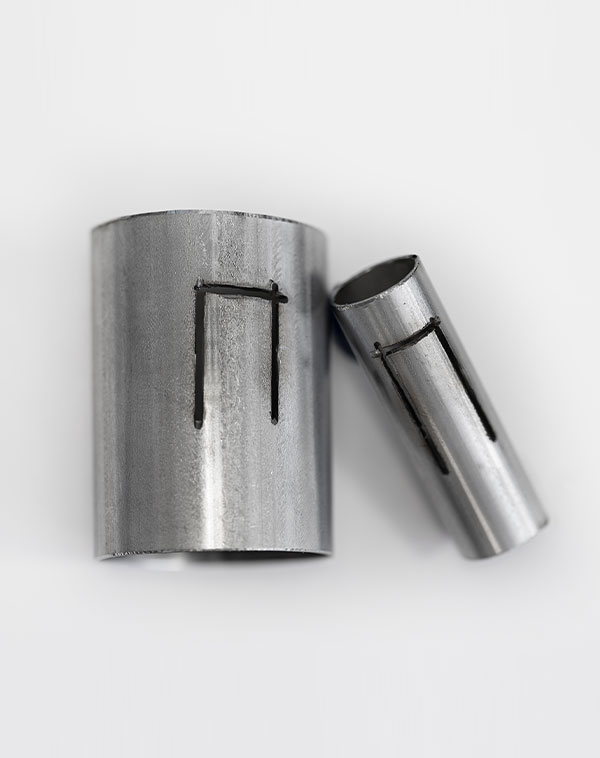
Tongue Test
The tongue test is performed if the order requirements foresee an evaluation of the residual stresses embedded longitudinally in the material due to mechanical work performed during the production of the tube itself. Three sides of a rectangle are cut from the tube and the opening of this “tongue” is measured and related to longitudinal stresses.
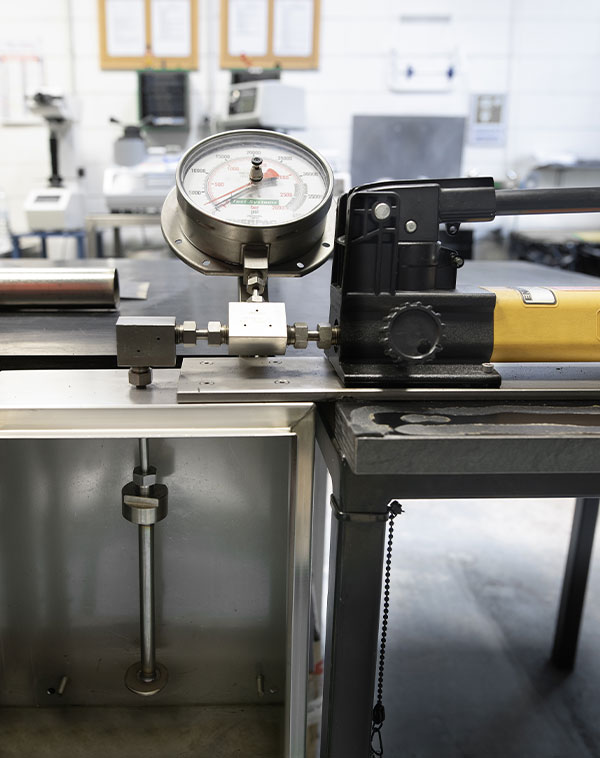
Burst test is a test that can be carried out upon customer request to determine the burst pressure of tube. A sample of tube is filled with oil until it ruptures, at which, the pressure recorded. The location and shape of the crack can give important information about the materials ductility.
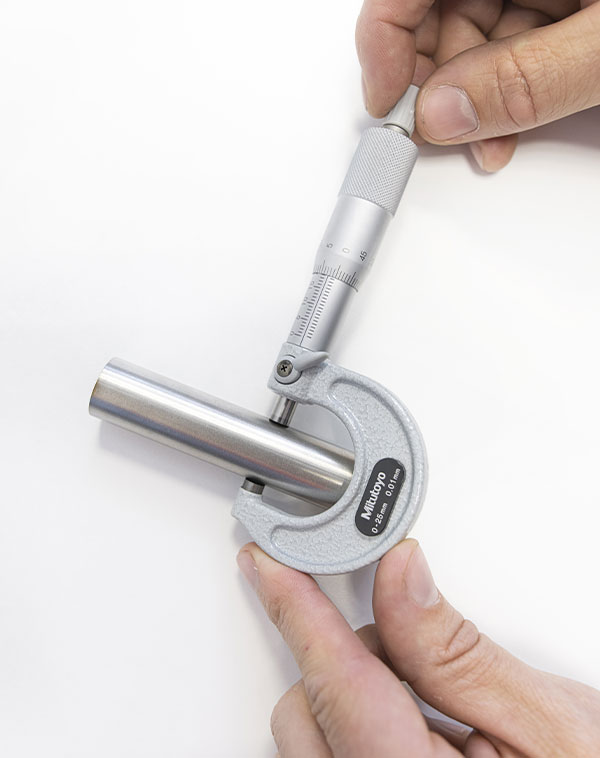
Operators perform diameter, wall thickness and length control according to a frequency set in the production standard. All measurement gauges are certified and periodically calibrated. Upon customers’ request, also internal diameter can be measured using specific gauges.
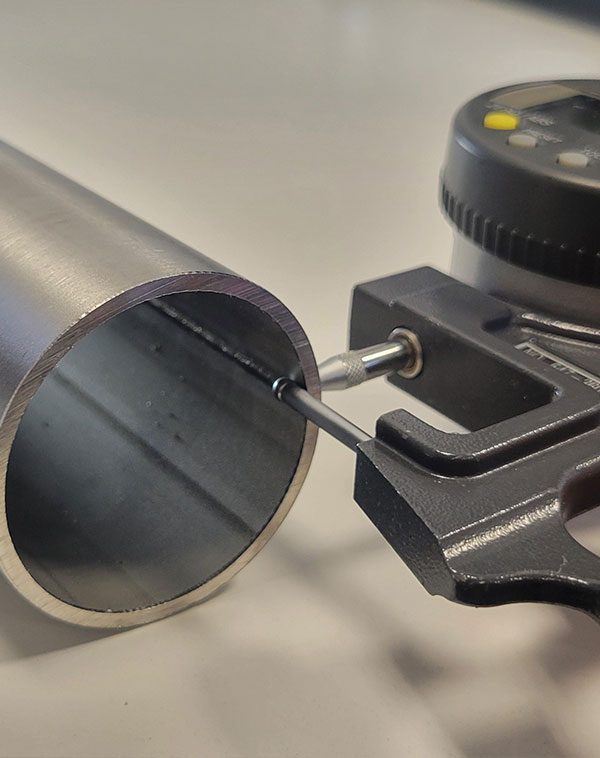
Height of the weld seam can be measured using a special gage. Internal height of the weld seam from inside bead rolled tubes, for common tubes, is typically under 0,05mm. External weld seam, when grinded, is close to zero.
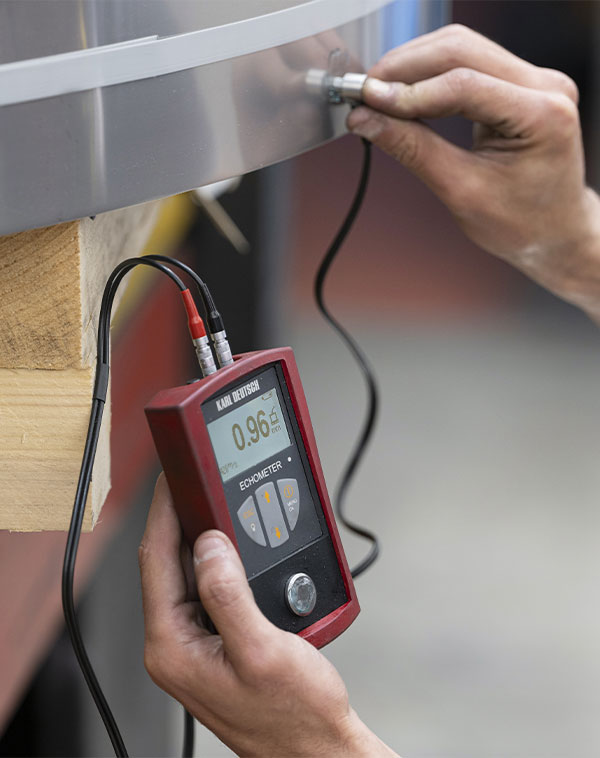
Wall thickness can even be measured using an ultrasonic device for special applications.
NON DESTRUCTIVE TESTING
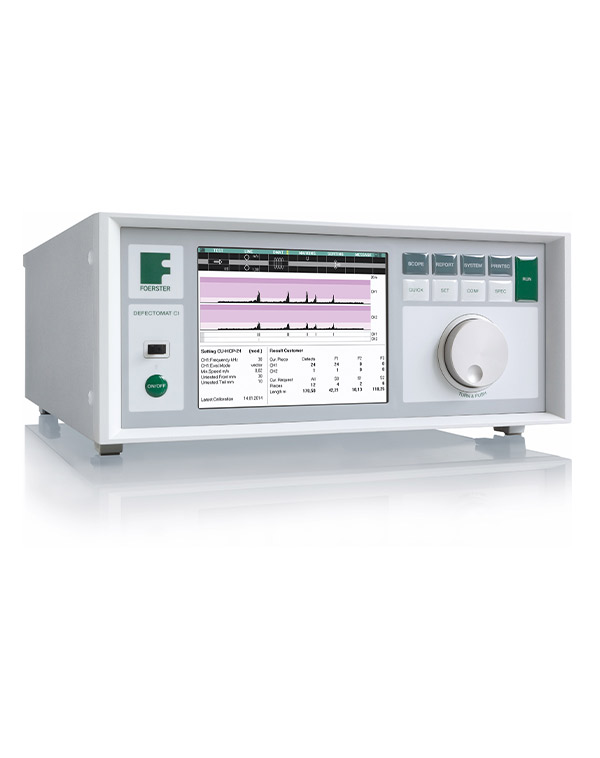
EN ISO 10893-1 / EN ISO 10893-2 / ASTM E426 / ASTM E309 / ASTM E571
Eddy current testing is performed in-line on 100% of tubes produced, according to EN 10893-1/10893-2 or ASTM E426-E573-E309. Eddy current calibration and verification is performed by A.D. Tubi’s level 2 and 3 staff qualified in accordance to EN- ISO9712 and SNT-TC-1A. Non conform tubes are automatically segregated in non-conform area.
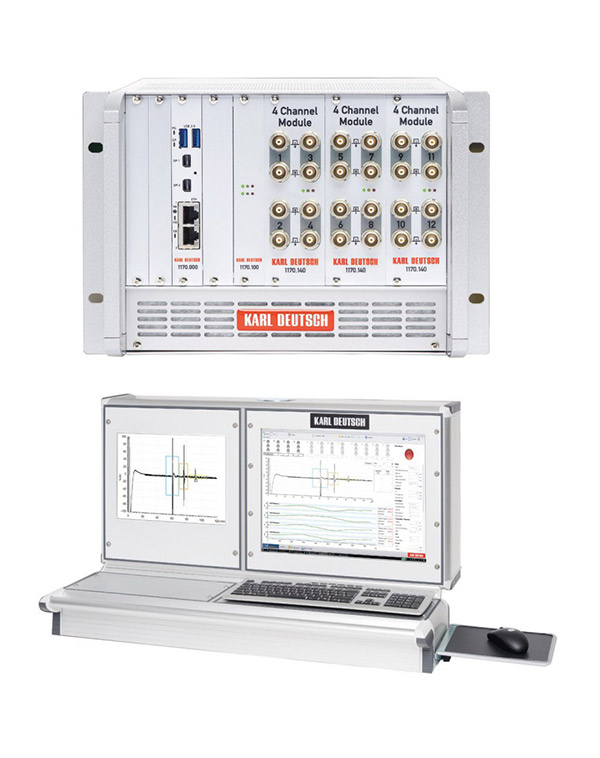
EN ISO 10893-10 / EN ISO 10893-11 / ASTM E213
UT can be performed on 100% of tubes produced. Test is carried out in-line on finished tubes before cutting and after eddy current. Calibration and verification is performed by A.D. Tubi level 2 and 3 qualified personnel according to EN- ISO9712 and SNT-TC-1A.
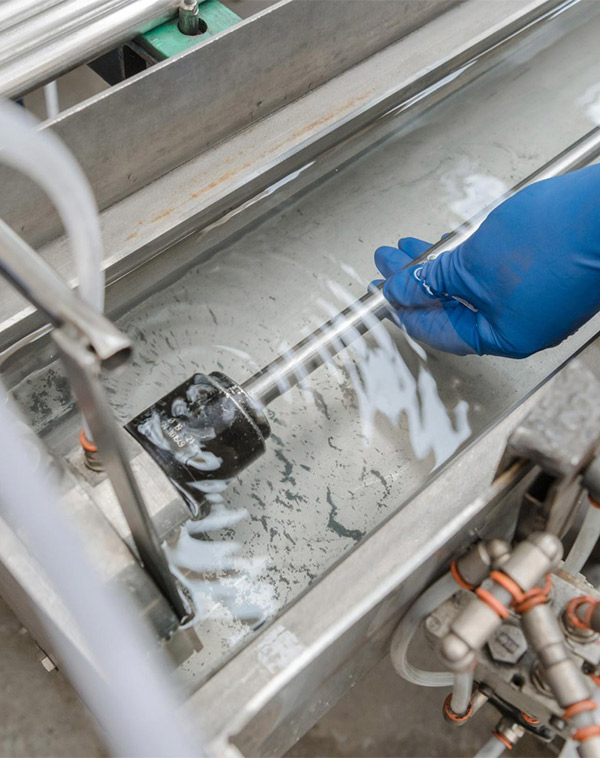
ASTM E515 / EN 1593
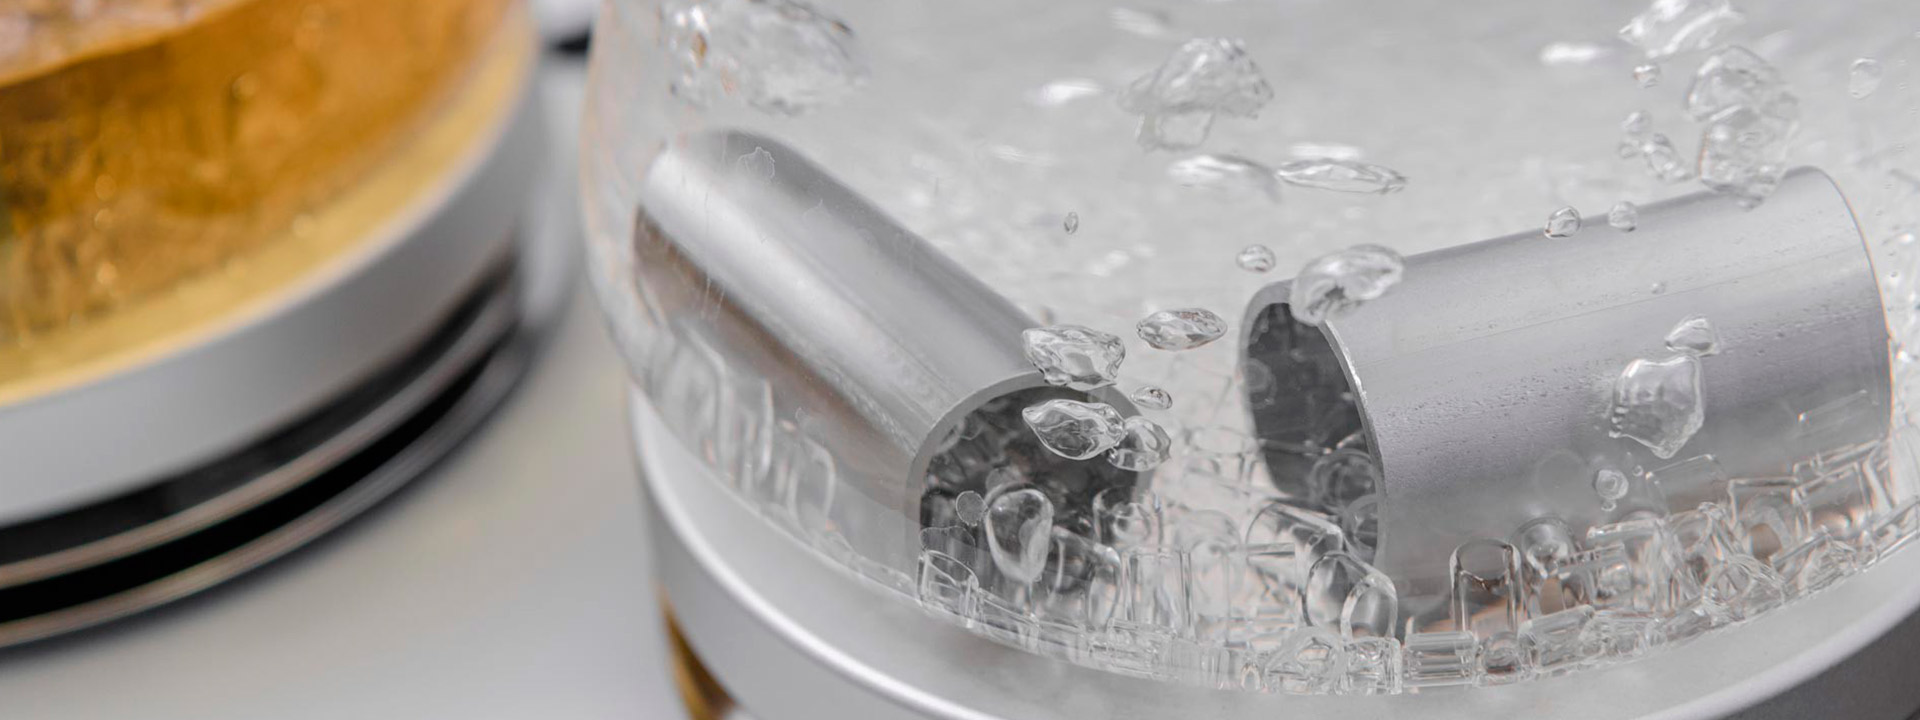
AUW can be performed on 100% of tubes upon customer request. Each tube with an internal surface clean and dry, shall be internally pressurized to 150 psi (7bar) minimum with clean and dry compressed air while being submerged in clear water, holding the pressure for at least 5 seconds after the surface of the water has become calm, the entire external surface of the tube is inspected. Any tube showing leakage is rejected.
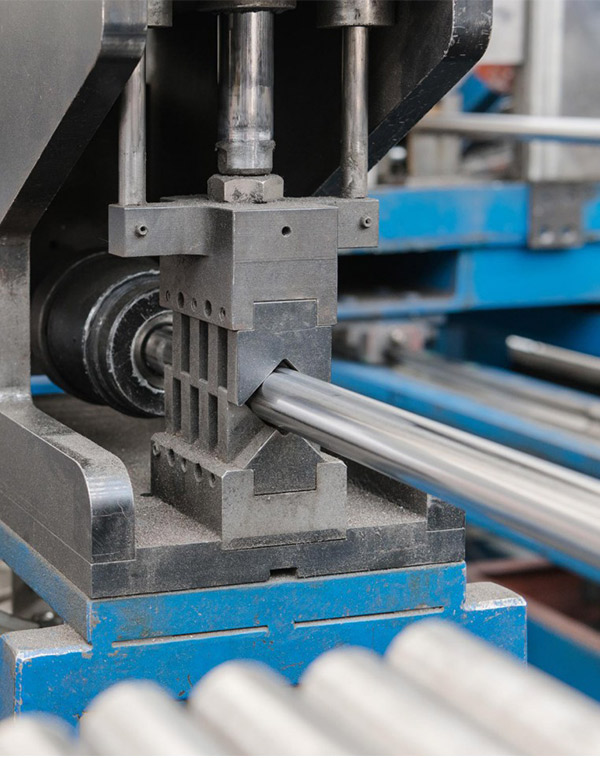
ASTM A1047 / EN1779
Pressure decay test is carried out according to ASTM A1047 and EN1779. A.D. TUBI performs leak testing using the pressure decay test obtaining an objective result. The test can be carried out up to 10bar for common applications and a very low leakage threshold can be set (5-10mbar).
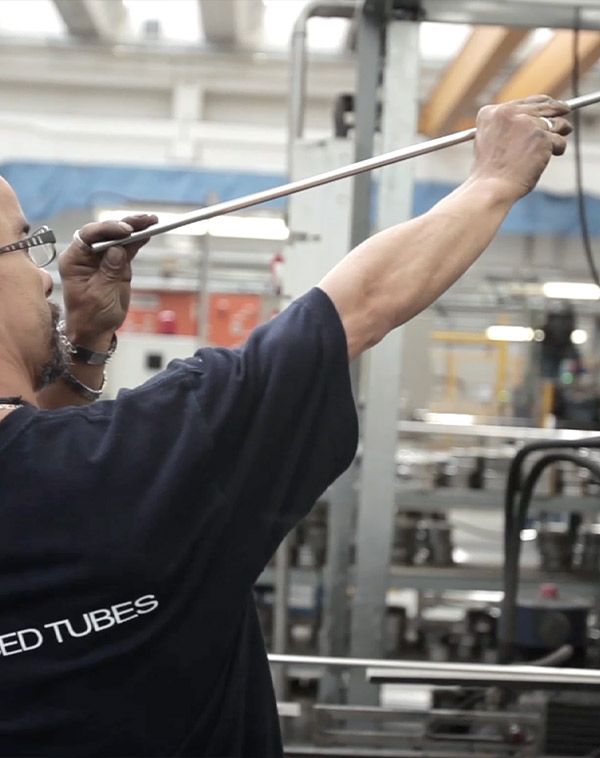
EN ISO 13018
Visual Examination is constantly performed by our operators. Operators examine the weld seam, surface condition, internal and external cleanliness of the tubes.
Internal surfaces can be inspected via video-endoscope.
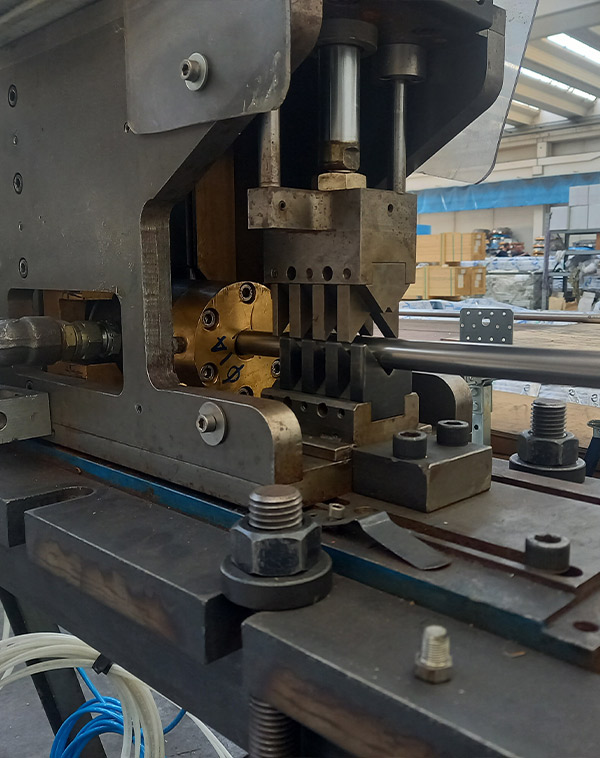
ASTM A1016 / EN 10217-7
Hydrostatic Testing is used to determine and verify the integrity of the tube. A.D. Tubi can perform HT on 100% of tubes upon customer request up to pressure of 250bar.
EN ISO 10893-4 / ASTM E165
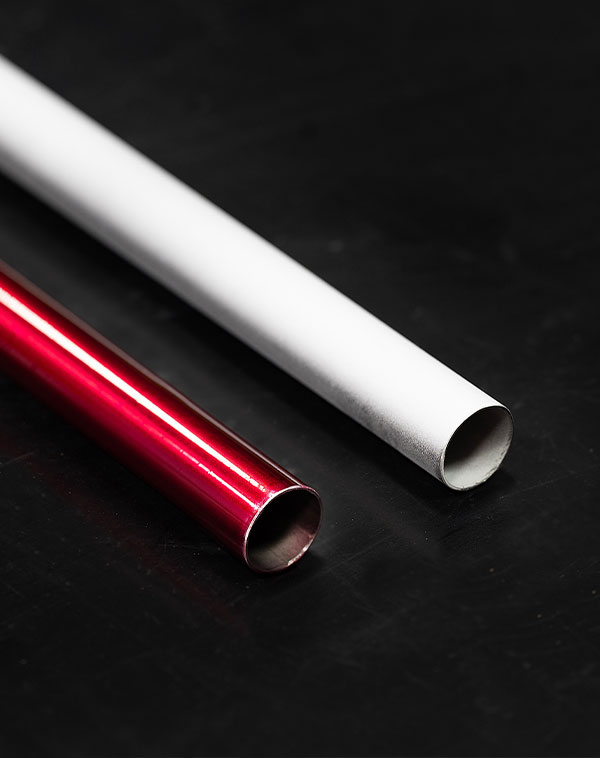
Liquid penetrant testing methods indicate the presence, location and to a limited extent, the nature and magnitude of the detected discontinuities. It is based on the ability of a liquid to be drawn into a “clean” surface discontinuity by capillary action. The penetrant liquid is applied on the tube surface (suitably cleaned). Then it’s necessary to wait for a suitable time so that the liquid, owing to capillary action, goes inside the discontinuities. Then the excess of liquid is removed from the surface. A developer is then applied to the tube, covering its whole surface. Finally, the penetrant containing a contrasting colour, which persists from inside the discontinuities can be observed.
CORROSION TESTS
Various corrosion tests can be performed in our laboratories in order to evaluate tubes corrosion resistance to intergranular, pitting and crevice corrosion or to detect the presence of intermetallic phases.
EN ISO 3651-1 (Huey Test)
EN ISO 3651-2 Pr.A – Pr.B – Pr.C
EN standard to determine the resistance to intergranular corrosion of stainless steels,
ferritic, austenitic and duplex materials.
ASTM A262 Pr.A – Pr.B – Pr.C – Pr.E – Pr.F
ASTM A763 Pr.X – Pr.Y – Pr.Z
ASTM A923 Pr.C
These standards specify Intergranular Test used to detect sensitization from slow cooling rates, insufficient annealing, and carbides precipitation. Rapid screening tests can also be carried out.
ASTM A249 S7 Weld decay test.
This test is used to evaluate the weld seams resistance in an acidic environment.
AD Tubi, depending on the material, can achieve a ratio R<1.
ASTM G28 Pr.A and Pr.B
ASTM G28 (also known as green death) is the standard test method for detecting susceptibility to intergranular corrosion in nickel-rich, chromium-bearing alloys.
ASTM G48 Pr.A – Pr.B – Pr.C – Pr.D – Pr.E – Pr.F
These tests are acid based pitting and crevice corrosion tests that are intended to mimic potential applications.
ASTM G48 is the standard method for pitting and crevice corrosion resistance of stainless steels and related alloys by use of ferric chloride solution.
Other corrosion tests can be carried out according to customers’ specification.
LAB TESTING
ASTM E1245
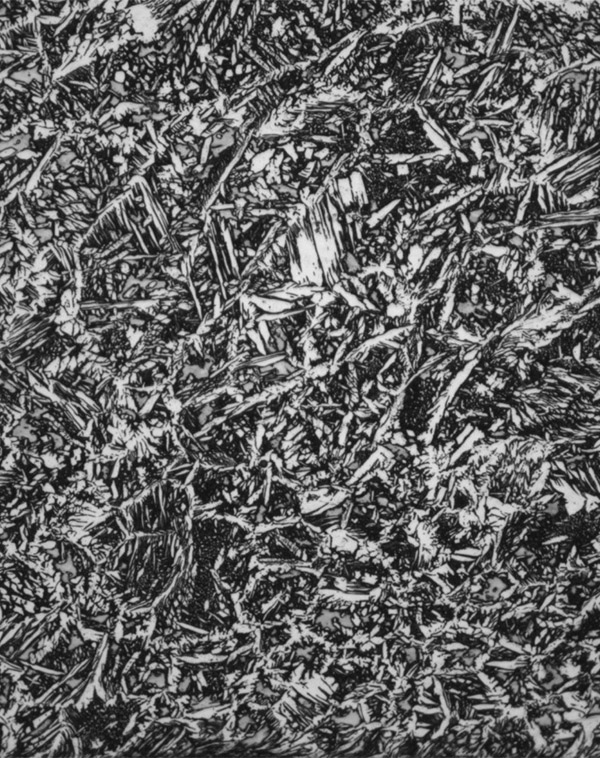
Austenite/Ferrite balance test is carried out to verify the percentage of austenite phase and ferrite phase in duplex steels. Test is performed according to ASTM E1245 (automatic image analysis). In A.D. Tubi’s laboratory it is possible to check the correct balance of the two phases, both in base metal, heat affected zone and weld metal. A.D. Tubi’s standard percentage of austenite in weld metal is between 40% and 60%, depending on the raw material percentage.
EN ISO 4287
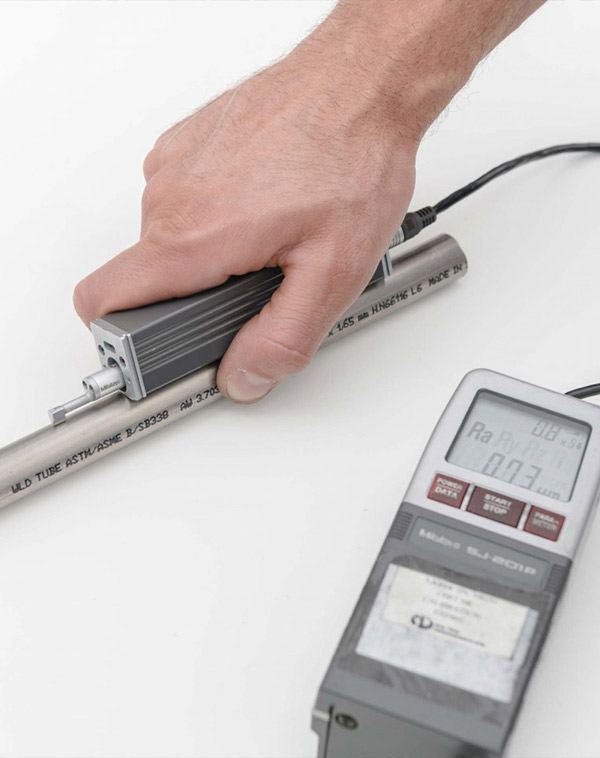
Roughness measurement is performed upon customer request to evaluate the roughness of tubes produced. The test is carried out using a calibrated profilometer. Roughness values depend strictly on raw material surface condition, so special roughness values must be agreed early in the quotation phase.
A.D. Tubi personnel can measure the following surface parameters:
Average roughness (Ra, AA, CLA)
Root-mean square roughness (Rq, RMS)
Maximum peak to valley height (Ry, Rmax)
Ten point height (Rz)
ASTM E112
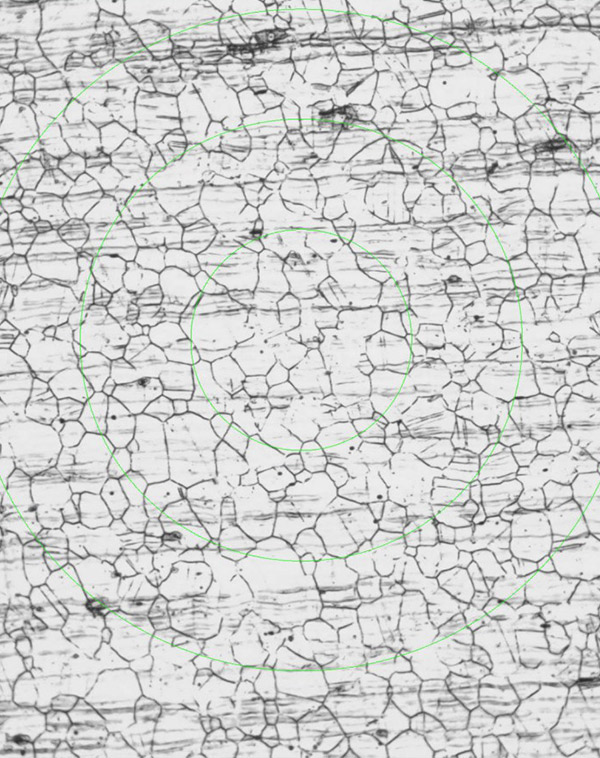
Grain size determination is a test carried out to check the micro-structural grain dimensions. Test is carried out according to ASTM E112. Grain dimension depends on grade and heat treatment performed. The focus of the test is determining the grain size number G corresponding to a certain average grain area. Typical A.D. Tubi tubes grain size of welded metal and heat affected zone is very close to metal base grain size.
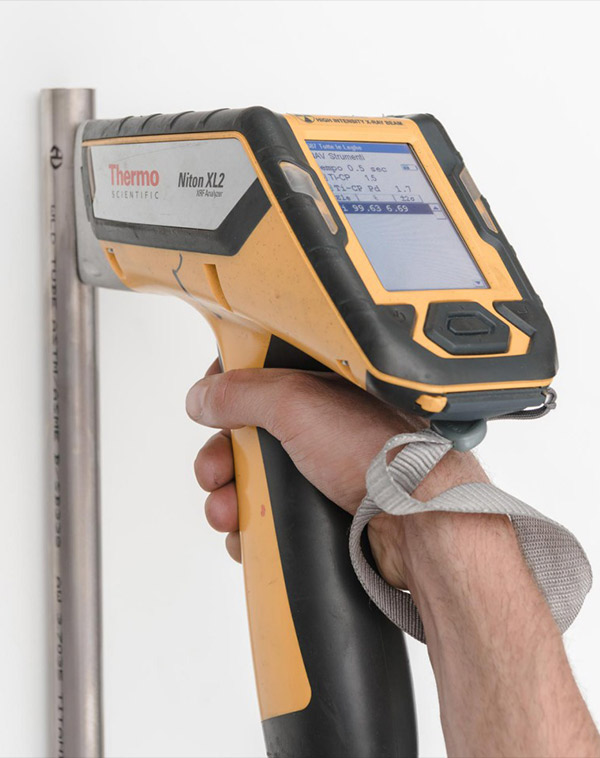
Positive material identification is a test to quickly verify the material grade. It is not a chemical analysis. A.D. Tubi perform PMI for every incoming strip to verify the grade. Upon customer request this test can be performed on finished tubes.
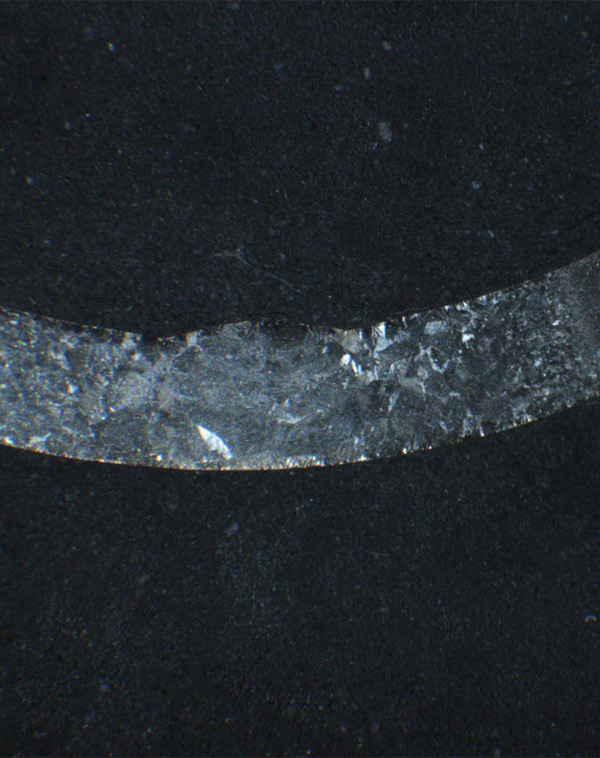
ASTM E407
This analysis is carried out to evaluate the shape and penetration of the weld which is evidenced by cutting a sample from the tube, polishing and etching one of its transversal sides. Re-crystallization of the weld can be also evaluated.
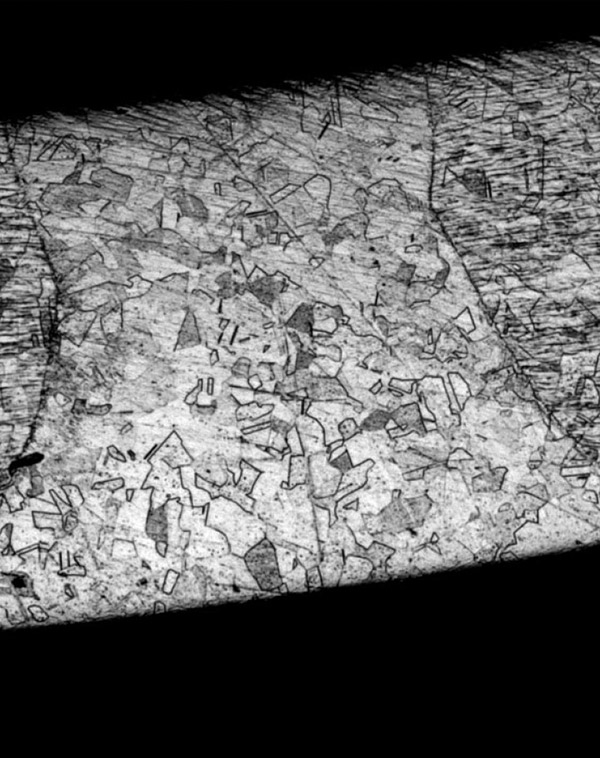
ISO 17639 / ASTM E407
Micrographic analysis is carried out to check the quality of the weld or to verify other characteristic’s such as an absence of intermetallic phases. A portion of tube is embedded in resin and then polished. After polishing, the sample is etched with an adequate chemical or electrochemical etchant (different for every grade and scope) and then observed under the optical microscope. Microstructure, presence of micro-porosity and intermetallic phases can be verified.
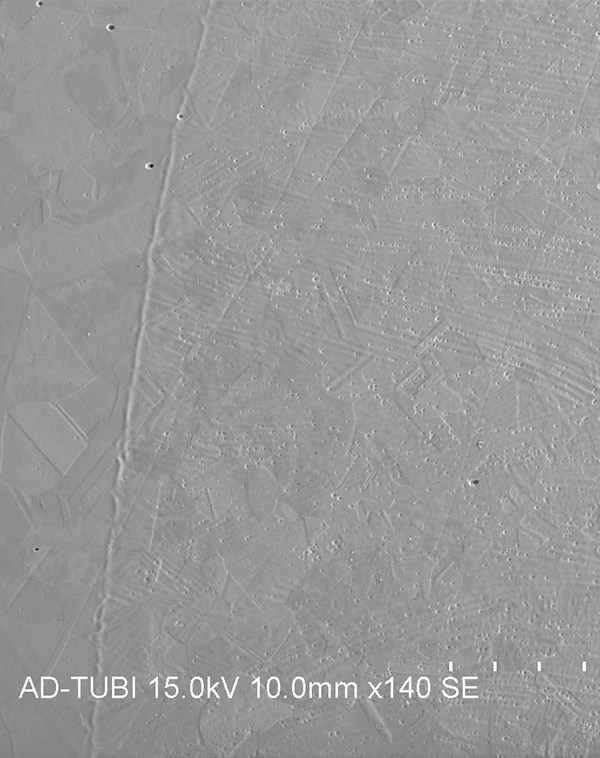
A.D. Tubi can perform special analysis using its scanning electron microscope. SEM analysis is very useful to check on some particular aspects, like segregations of second phases, micro-porosity, presence of unwelcome elements. For example, it is very useful to control the presence of molybdenum segregations in 6%Mo alloys. (However, the application field of SEM is so wide that it cannot be summarized here.)
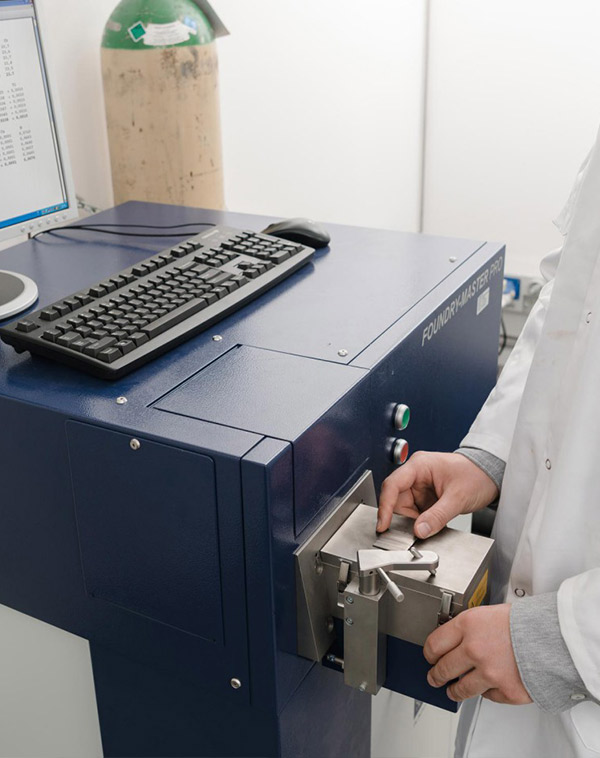
ASTM E1086
Standard test method for Analysis of material by Optical Emission Spectrometry giving us the chemical composition of the product.
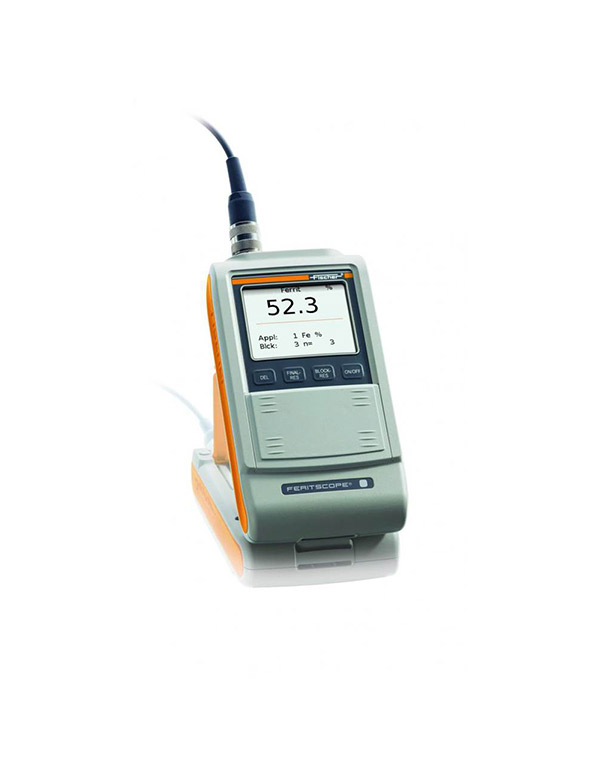
Ferrite can be measured using a device called a ferritescope. Residual ferrite in austenitic steels and ferrite/austenite balance in duplex steels can be measured quickly using this electronic device.
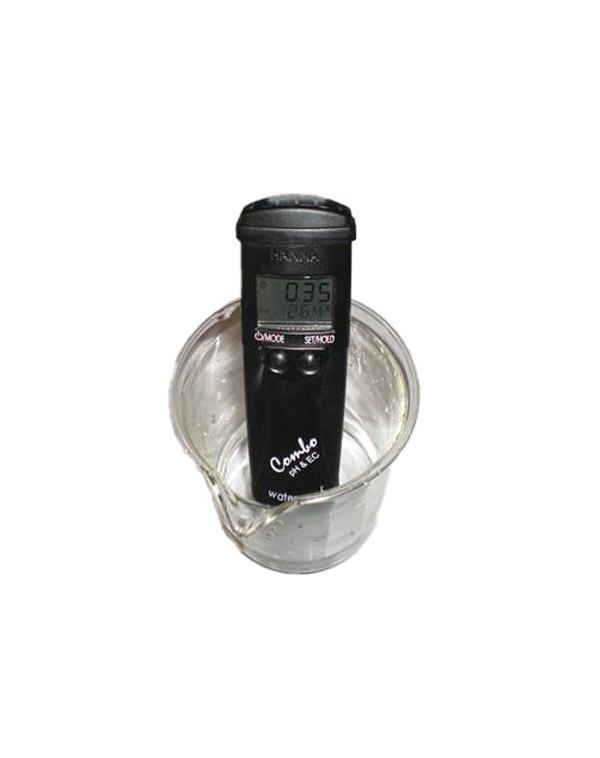
ASTM/ASME A/SA688
Chloride salt determination test is carried out to detect eventual chloride residuals on finished tubes. The test is performed according to ASTM/ASME A/SA688. The content of Cl-ions is evaluated in deionized water in contact with a sample of finished tube. Typical values are less than 1ppm of Cl- ions.